AUV Depth
AUV pressure to depth SOP (written by John Doroba)
AUV Depth Processing
The AUV Depth utility will use the .bin output files from NavLab, as well as CTD data from the vehicle and barometric pressure files to create Delta Draft data for Caris processing and derived SVP cast data for post-processing. NOTE: the .all sonar data files must be converted into Caris HDCS format before running the AUV Depth utilily.
Required File.
EM3002 sonar .all data files
NavLab processed .bin files (navlab_smooth and SmoothedPressure files)
Mission directory from the REMUS data download (“cp” and “post” subdirectories are the minimum. Recommend having the entire directory to ensure proper directory structure.)
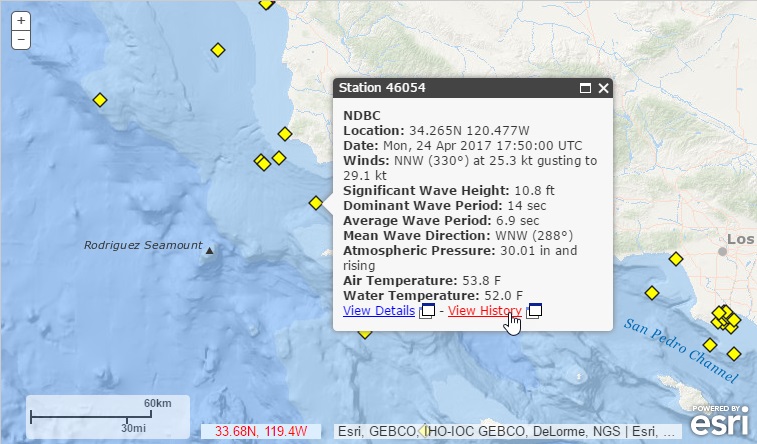
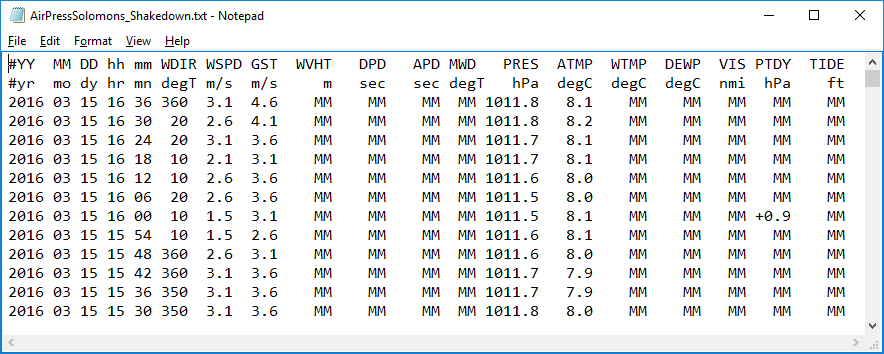
- Air pressure file from NDBC website http://www.ndbc.noaa.gov/
- Use Map to Find Buoy
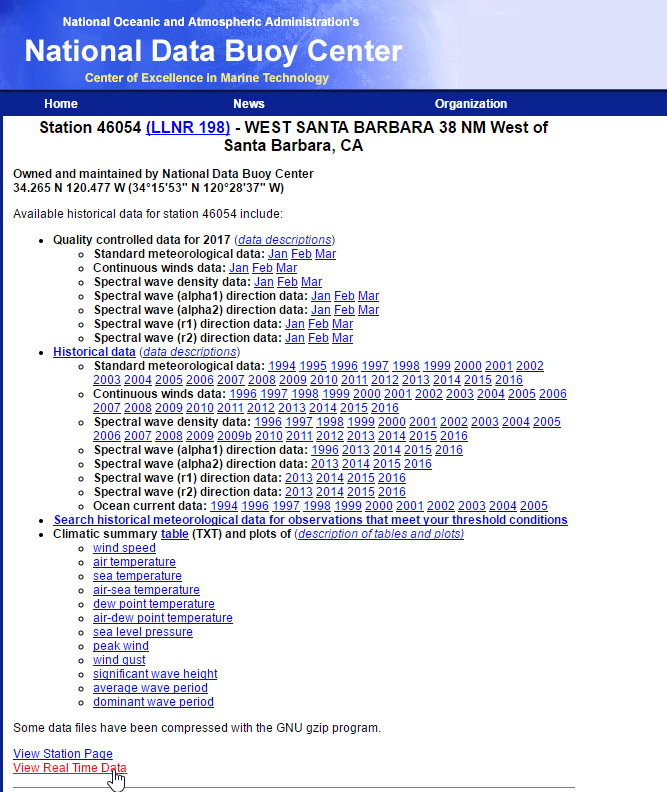
- Select Buoy -> View History (New Link Will Open)
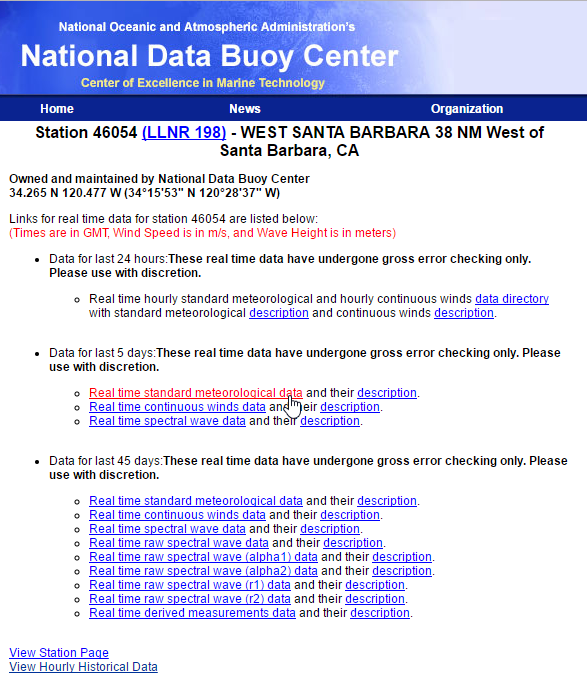
- Select Real Time Data
- Select last 24 hours/5 days/45 days “Real time standard meteorological data”
Save data as .txt file (must have pressure available and in hPa format)
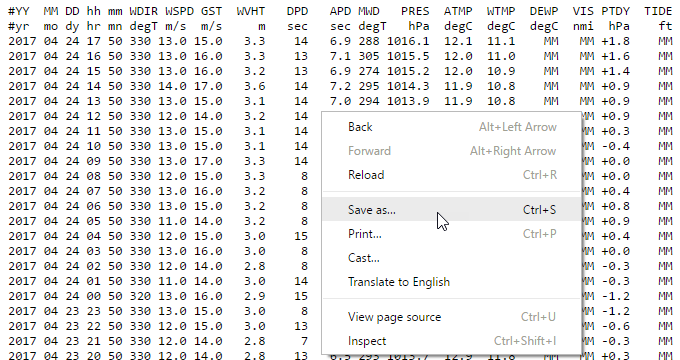
- Open .txt in Wordpad
- Save
- Open in Notepad
- Save
- Format should be correct
- Pydro Format Read:
Running AUV Depth
Choose the navlab_smooth.bin file to be processed by clicking the top browse button. This will also select the corresponding CTD data directory. Next, choose the appropriate SmoothedPressure.bin file for the mission as well as the air pressure file downloaded from the NDBC website (if available? if no data is available, an average air pressure value is automatically used).
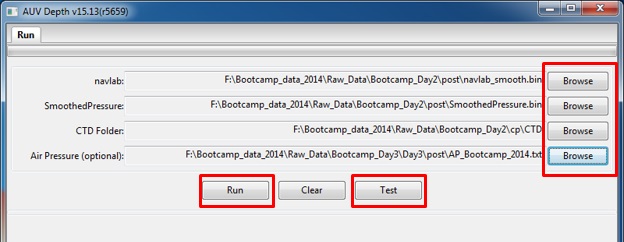
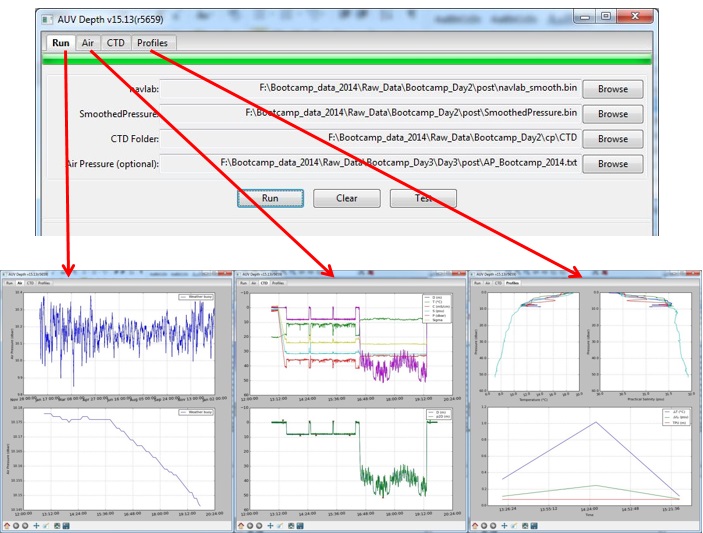
At this point, the user can click the test button (optional) to determine if the data files and locations are valid. Alternately, the run button can be clicked to launch data processing. After a successful run, the utility will display three additional tabs to view computed data: Air, CTD and Profiles. These graphics are not editable; rather they give the user a visual indication that the data is as expected
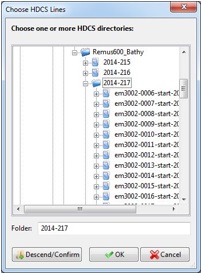
After the data processing is complete, a pop-up window will allow the user to select the HDCS data directory to apply the smoothed delta draft correctors into. Since missions are normally run as a “mission per day” mode, the user can select down to the day directory and choose “Descend/Confirm” to select all the appropriate data files. Click OK.
Resources
- Online Resources:
Contact
If you find errors in the documentation or want to contribute, you are encouraged to email the following personnel emails @NOAA.GOV
- barry.gallagher
- jack.riley
- chen.zhang
- eric.younkin
